Understanding 4WD Systems
Manual 4WD engages by placing the vehicle in neutral, pulling the lever toward you, then shifting to drive. Keep wheels straight and brakes released. Use high gear for speeds over 15‑20 km/h on slippery surfaces; low gear for steep climbs or rock crawling at low speed. Ensure parking brake is off engaging now.
Manual vs Automatic 4WD Engagement
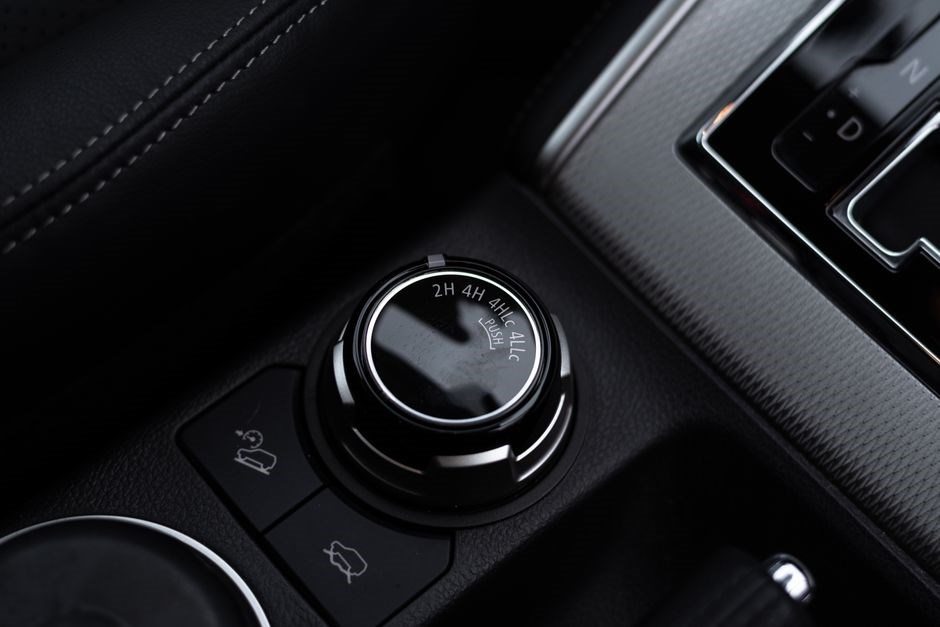
Manual engagement is favored in older 4WD models where a mechanical lever provides a tactile sense of transfer case lock. The driver can choose to engage only when needed, conserving fuel and reducing wear on the vehicle, especially when the vehicle is stopped or moving very slowly. Automatic 4WD typically uses a torque‑split unit that locks the 4WD without driver intervention. This allows the driver to maintain 2WD for normal driving and switch to 4WD‑High or 4WD‑Low on demand. While automatic systems offer convenience, they can be complex, expensive to repair, and may lock 4WD unexpectedly if sensor logic fails. Ideal for off‑road. and steep!! Drivers should consult the owner’s manual for specific engagement procedures Manual
Key Components of a Manual 4WD
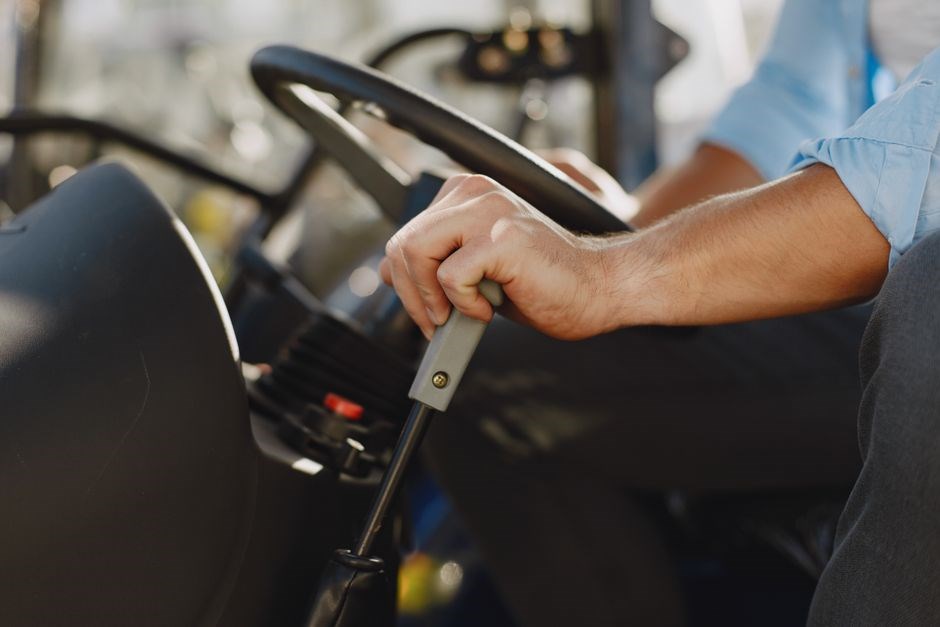
Manual 4WD systems rely on a few critical parts that allow the driver to lock the transfer case and distribute torque to all four wheels. The first is the transfer case, a gearbox that splits engine power between the front and rear axles. When the driver pulls the 4WD lever, a mechanical linkage engages a clutch inside the transfer case, forcing the front and rear driveshafts to rotate together. The second component is the 4WD lever or selector itself, which is often a lever or button on the floor or center console. This lever is connected to the transfer case via a cable or hydraulic line; moving it to the “4‑wheel” position sends a signal to the clutch. Third, the front and rear driveshafts carry the torque from the transfer case to the differential on each axle. The driveshafts must be properly aligned and lubricated; any misalignment can cause binding when 4WD is engaged. Fourth, the front and rear differentials receive the torque and distribute it to the wheels. In many manual 4WD vehicles, the differentials are open, meaning they allow wheel spin when traction is lost. Finally, the 4WD engagement lock—often a lock‑up clutch or a set of gears—provides the mechanical lock that ensures power is shared evenly. Proper maintenance of these components, such as checking the transfer case fluid and inspecting the cable or hydraulic lines, is essential for reliable 4WD operation. When engaging 4WD manually, the driver must ensure the vehicle is stopped, the parking brake is released, and the wheels are straight before moving the lever to avoid undue stress on the transfer case and driveshafts.
Before engaging, inspect the transfer case fluid level; low fluid can cause overheating. Also, check that the 4WD lever is free of debris. When the vehicle is in neutral, the driver can safely move the lever without risking drivetrain damage. After engagement, a brief test drive at low speed confirms that torque is being transmitted correctly. If the vehicle feels stiff or the engine revs high, disengage immediately and inspect for binding or fluid loss.
In many off‑road scenarios, the driver may engage 4WD Low for rock crawling or steep ascents. This mode shifts the transfer case into a lower gear ratio, increasing torque at the wheels while reducing speed. The driver should never engage 4WD Low while the vehicle is moving faster than about 15 km/h; doing so can cause drivetrain damage. When in 4WD High, the vehicle behaves like a normal 2WD car but with power to all wheels, improving traction on snow, mud, or gravel. The manual engagement process is the same for both modes; the lever simply selects the desired gear ratio inside the transfer case.

When to Use 4WD for Daily Driving
When deciding whether to engage 4WD, consider the road conditions and your vehicle’s weight distribution. If you encounter wet roads, keeping 4WD engaged reduces wheel spin. However, 4WD adds drag; on dry pavement it reduces fuel economy by 5–10 %. A balanced approach—engaging 4WD only when necessary—maximizes safety. Use 4WD only when traction is needed keep wheels straight and check the system. For daily driving, 4WD should be engaged only on slippery surfaces such as snow, ice, or wet gravel, where the rear‑wheel drive (4×2) may lose grip. While the vehicle is stopped, pull the 4WD lever toward you, then shift to drive. This keeps all wheels powered, improving stability. Occasionally running 4WD for a short straight‑line distance—about 50 meters—helps keep the transfer case and differentials lubricated and prevents wear. However, using 4WD on dry, paved roads increases fuel consumption and can accelerate wear on the drivetrain. For normal daily use, keep the vehicle in 4×2 unless you encounter sudden loss of traction. If you are driving on a steep hill or off‑road trail, switch to 4WD Low for higher torque and lower speed; remember to be at a complete stop before engaging. After engagement, perform a quick check: ensure the vehicle is in drive, the wheels are straight, and the parking brake is released. If the vehicle feels stiff or the engine revs unusually high, disengage and inspect for binding or fluid loss. By following these guidelines, you can maintain drivetrain longevity while ensuring safety on challenging surfaces.
Preparing the Vehicle for 4WD Engagement
Check tire tread and alignment, then place the car in neutral or parking. Pull the 4WD lever toward you, ensuring the parking brake is released. Keep wheels straight before engaging to avoid binding and maintain smooth torque distribution. Check fluid levels. now!
Check Tire Condition and Alignment
Before engaging manual 4WD, inspect each tire for wear, punctures, and proper inflation. Uneven tread can cause binding when torque is distributed to all wheels. Verify that the front and rear wheels are aligned to the manufacturer’s specifications; misalignment may lead to excessive steering effort or uneven tire wear under 4WD load. Ensure that the tire sidewalls are free of cracks or bulges, as these can fail when the vehicle is driven in low‑gear mode. Check the tire pressure with a calibrated gauge; the recommended pressure is typically listed on a sticker inside the driver’s door jamb or in the owner’s manual. Inflate to the specified psi, which balances traction and fuel economy. If any tire shows signs of damage, replace it before engaging 4WD. Additionally, confirm that the wheels are free of debris or obstructions that could impede rotation. A clean, properly aligned tire set not only improves traction but also protects the transfer case and differential from undue stress during manual engagement. Finally, run a quick wheel spin test: with the vehicle in neutral, gently rotate each wheel by hand. All wheels should turn smoothly and without resistance; any resistance indicates a potential mechanical issue that should be addressed before using 4WD. This properly ensures differential locks are not overloaded, drivetrain longevity! Always check before off‑road trips daily.
Ensure the Vehicle is in Neutral or Parking
Before attempting to engage the manual 4‑wheel‑drive system, it is essential to confirm that the transmission is in a neutral or parking position. This precaution prevents unintended drivetrain engagement that could damage the transfer case or differential. In most vehicles, the gear selector must be moved to a neutral slot; for some models, the parking position also satisfies the requirement, but the neutral setting is the safest choice. To verify the vehicle is truly in neutral, gently push the gear lever forward and feel for a slight resistance that indicates the neutral range. If the vehicle is in a gear other than neutral or parking, shift it carefully to neutral, ensuring the engine is idling or the vehicle is completely stopped. A common mistake is to assume the vehicle is in neutral when the gear lever is in the middle of the shift pattern; by turning the key off and observing the indicator lights now. Once neutral is confirmed, engage the parking brake to secure the vehicle against unintended movement. This step is critical when the vehicle is on an incline or uneven terrain, as the 4‑wheel‑drive system can transmit torque to all wheels, potentially causing a roll if the vehicle is not firmly held. After the parking brake is applied, proceed to pull the 4WD selector lever toward you, following the manufacturer’s instructions. This sequence ensures that the transfer case receives no power until the vehicle is safely positioned, thereby protecting the drivetrain and maintaining control during the engagement process.
Verify Parking Brake is Released
Before engaging the manual 4‑wheel‑drive selector, always confirm that the parking brake is fully released. A locked parking brake can transmit unexpected torque to the drivetrain when the 4WD system is engaged, potentially damaging the transfer case, differentials, or even causing the vehicle to lurch forward. To verify release, depress the brake pedal and feel for any resistance; if the pedal remains firm, the brake is still engaged; Additionally, check the parking brake lever or button for any visible tension or a locked position. In many modern vehicles, a dashboard indicator will illuminate to warn of a locked parking brake; if such a light is on, disengage the brake before proceeding. Once the brake is released, double‑check that the vehicle is on a level surface or firmly secured with wheel chocks if on an incline. Only after these precautions should you move the gear selector to neutral and pull the 4WD lever toward you. This sequence ensures that the transfer case receives no power until the vehicle is safely positioned, thereby protecting the drivetrain and maintaining control during the engagement process. Remember that the parking brake release check is a critical safety step; neglecting it can lead to sudden acceleration or loss of control, especially on uneven or inclined roads. Always perform this check before any 4WD engagement, and keep a habit of inspecting the brake system during routine maintenance to ensure reliable operation. This habit also aids in early detection of brake wear, ensuring safety

Engaging 4WD High Gear
Place the car in neutral, pull the 4WD selector toward you, then shift to drive. Keep wheels straight, brakes released, and avoid accelerating until the selector locks. Use high gear for speeds above 15‑20 km/h on slippery surfaces. Ideal for wet or snowy roads, it balances torque across all wheels for traction.
Conditions Suitable for 4WD High
High‑gear 4WD is designed for situations where the vehicle is moving faster than the low‑gear mode allows, yet still requires extra traction. Typical scenarios include driving on wet or snowy roads, traversing gravel or loose‑soil surfaces, and negotiating steep inclines where a higher torque output is needed but the vehicle speed remains moderate. The high‑gear mode keeps the transmission in its normal range, providing a balance between power and fuel efficiency while distributing torque to all four wheels. This makes it ideal for everyday use on slippery roads, as it prevents the rear wheels from slipping and reduces the risk of loss of control. When engaging high‑gear, the vehicle should be in neutral, the 4WD selector pulled toward the driver, and the parking brake released. The driver should then shift to drive without accelerating until the selector locks. The high‑gear mode is also useful for towing or hauling moderate loads on uneven terrain, as it offers better traction than 2WD while still maintaining reasonable speed. It is important to remember that high‑gear 4WD should not be used for extreme off‑road situations such as rock crawling or steep, technical climbs, where low‑gear mode provides the necessary low‑speed torque. In summary, high‑gear 4WD is best suited for moderate speeds on slippery or loose surfaces, where extra traction is needed without sacrificing speed or fuel economy. Always check conditions. Stay alert.
To engage 4WD high while the vehicle is stationary, follow these precise steps. First, ensure the car is in neutral (or parking if the system allows). Keep the wheels straight and the parking brake fully released. Next, pull the 4WD selector lever toward you until it clicks into the high‑gear position. Do not accelerate or shift into drive until the lever is fully engaged. Once the lever is locked, shift the transmission to drive. The vehicle should remain just stopped during this procedure to avoid any torque spikes that could damage the drivetrain or brakes. After the shift, check that the 4WD indicator lights up and that the vehicle is ready to move. Finally, release the parking brake, apply gentle throttle, and proceed with caution, knowing that all four wheels now receive power in high gear for improved traction on slippery or uneven surfaces.
Before engaging, double‑check that the vehicle’s speedometer reads zero and that the gear selector is in neutral. Inspect the 4WD lever for any visible damage or looseness; a worn lever can fail to lock. If the vehicle has a manual transfer case, ensure the clutch is fully depressed before pulling the lever. After the lever clicks, give the engine a brief moment to settle; this helps the drivetrain lock smoothly. When ready, shift the transmission to drive, keeping the foot firmly on the brake until the engine idle stabilizes. Finally, perform a quick wheel spin test: release the brake slightly and observe the wheels for any slipping; if all four wheels rotate together, the 4WD high is engaged correctly. Proceed with caution.
Post-Engagement Driving Checks
After locking the 4WD selector into high gear, perform a series of checks to confirm the system is functioning correctly. First, ensure the 4WD indicator light on the dash is solid and that the transfer case has not slipped. Next, gently release the brake and apply a light throttle; all four wheels should rotate in unison without lag. If the vehicle has a manual clutch, confirm the clutch pedal remains depressed until the engine idle stabilizes. Inspect the rear differential for abnormal noises or vibrations, which may signal mis‑engagement. Verify engine RPM rises proportionally with throttle input, indicating proper torque distribution. Finally, perform a short low‑speed test drive to confirm traction is evenly distributed and the vehicle responds predictably to steering. If irregularities arise—wheel spin, uneven acceleration, or warning lights—re‑engage the 4WD selector, double‑check the neutral position, and repeat the checks.
Additionally, monitor the temperature gauges for the transmission and differential; they should remain within normal operating ranges. Check the battery voltage to ensure the electrical system is not overloaded by the added load. Observe handling; the steering should feel firm. If the vehicle is equipped with a traction control system, confirm that it is active and that the system’s warning light remains off. Finally, document the engagement by noting the gear position and any changes in fuel consumption, as this data can help in future maintenance planning.

Engaging 4WD Low Gear
To lock low, stop, set neutral, pull lever toward you, then to the right, then away. Keep wheels straight, brake released. Do not accelerate until in drive. Low gives high torque, use for steep climbs or rock crawling. Avoid high speed. Check for any odd noises or vibrations promptly
Speed Restrictions Before Engaging Low

When preparing to lock the 4‑wheel‑drive system into low gear, it is essential to observe strict speed limits. The low‑gear mode is designed for low‑speed, high‑torque situations such as steep ascents, rock crawling, or towing heavy loads. Engaging low while traveling faster than about 15 km/h (9 mph) can cause drivetrain damage, wheel lock‑up, or loss of control. Most manufacturers recommend remaining below 10 km/h (6 mph) before initiating the low‑gear sequence. If the vehicle is moving, bring it to a complete stop, shift into neutral, and then engage low. The neutral position ensures that the transfer case receives no torque from the engine, preventing sudden torque spikes that could shear driveshafts or break differential components. After the lever has been pulled to lock the low gear, double‑check that the parking brake is fully released; a partially engaged brake can create a sudden jolt when the torque is applied. Once the vehicle is at a standstill, you can safely shift into drive and begin to apply throttle gradually. Remember that the low‑gear mode delivers maximum torque, so any abrupt acceleration will produce a dramatic surge that may overwhelm the braking system or cause wheel spin. Therefore, maintain a cautious approach, keeping speed well below the recommended threshold until you have fully stabilized the vehicle. This disciplined procedure protects both the mechanical integrity of the drivetrain and the safety of all occupants. Practicing these limits builds confidence and ensures safe low‑gear engagement whenever needed. Always double‑check the vehicle’s state before locking the system, and keep engine idle until engaged!!
Sequence to Engage 4WD Low from a Complete Stop

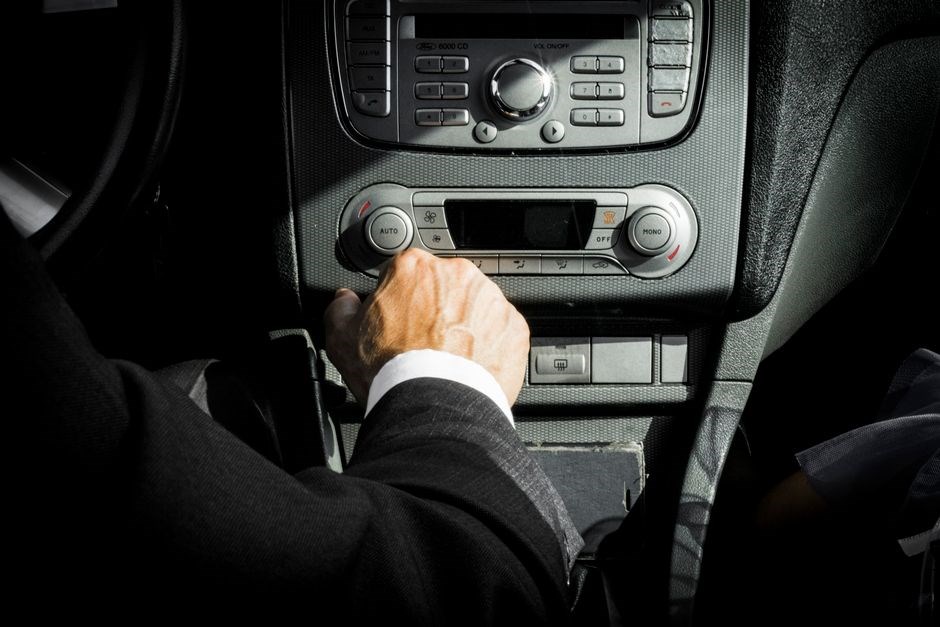
Bring the vehicle to a full stop and ensure the engine is idling. 2. Shift the gear selector into neutral (or park if the vehicle has a park mode that allows low‑gear engagement). 3. Verify that the parking brake is fully released; a partially engaged brake can cause a sudden jolt when torque is applied. 4. Keep the wheels straight and the vehicle balanced. 5. Locate the 4WD lever or button—typically found on the center console or near the gear shift. 6. Pull the lever toward you (or press the button) to move the selector into the low‑gear position. 7. Wait for the indicator light or dashboard message confirming low‑gear lock. 8. Shift the gear selector into drive (or forward) while maintaining the vehicle in neutral until the low‑gear lock is confirmed. 9. Release the brake pedal gradually and apply throttle slowly, allowing the high torque to assist in climbing or crawling. 10. Monitor the vehicle’s response; if any abnormal vibration or noise occurs, disengage low gear immediately and reassess the terrain. 11. Once the task is complete, shift back to neutral, release the 4WD lever, and resume normal driving. This step‑by‑step procedure ensures safe and reliable low‑gear engagement, protecting the drivetrain and providing maximum traction when needed.
After disengaging low gear, inspect the transfer case for any signs of wear or damage. Check the differential fluid level and condition; low‑gear use can cause increased heat. If the vehicle was used on a incline, allow it to cool before driving again. Always keep a spare tire accessible when operating in low‑gear mode!!!!